Webpacker was historically the tool used to connect Rails 6 apps to Webpack, the build tool for managing Node dependencies. Webpack originated from the Node world and Webapcker was the gem that connected Webpack to Rails 7.
It was liked by a few but widely hated by most Rails developers. This has several interconnected reasons, not least of which the development experience was significantly brittle.
JSBundling replaced Webpack (officially) for Rails 7, but a fork of Webpacker called Shakapacker continues to support the Webpack paradigm under Rails 7 (this is a great option for using React and Rails together). Under the hood Shakapacker is really a fork of Webpacker, so like most renames, the code objects and configuration settings still use the ‘webpacker’ terminology— that is, you’ll see the word ‘webpacker’ all over the code as file names, config settings, etc while working with a Shakapacker app. While there are differences (advancements), the primary way to tell if you’re using Webpacker or Shakapacker is to look directly at the Gemfile.
Shakapacker and Webpacker are used with Rails 6 apps. Webpacker was officially retired by the Rails team with the release of Rails 7.
1/ Accidentally Compiling Sprockets
This section applies to you if you are using Sprockets (the “asset pipeline”) for any version of Rails.
Normally, assets are “precompiled” only in production/deployed environments. That means that by default there shouldn’t be a folder at public/assets/ while you develop (Sprockets compiles assets on-the-fly for you in development mode).
If you accidentally have run bin/rails assets:precompile in development, you’ll have an extra folder here (public/assets/) which does not get checked into your repository.
But if it does exist, then its existence overrides Sprocket’s development mode setting to recompile on every pageload, forcing your browser to load the already compiled (and stale) asset from public/assets/…
(Ironically, running bin/rails assets:precompile or rake assets:precompile, while it does force a one-time recompile and seemingly gives you your latest JS compile, doing this in development is typically what causes the problem of Sprockets getting stuck in the first place)
Next, force Sprockets to delete the public/assets/ folder and then bust the thumbprint cache using:
bin/rails assets:clobber(alternatively, run bin/rails assets:clean and then touch tmp/restart.txt)
To debug further, set assets.debug = true in your environment file.
2/ Webpacker/Shakapacker’s compile setting
This section applies to you only if you are using Webpacker or Shakapacker.
In config/webpacker.yml there is a setting for compile. When you start, this is typically set to true for development (but never for production, where you will compile your assets at build time.)
If you don’t have it set to compile true, that is compile: false, Webpacker will not recompile assets as you load page in your window (work with and develop your app). If that’s the case, you must use either the Multi-Window Strategy or the One-Window Shortcut (see below) to ensure your assets are compiled as you work.
It turns out that the default setting for compile of true is slow and creates a slow development experience, so while it is the default it is inferior and not recommended. Typically you run compile: false even in development and then also run a daemon in the background to watch for changes and compile your assets on the fly. (If you do keep compile: true on your development app, Webpacker will recompile at the time the web request is made— not at the time you save changes to your file.)
Multi-Window Strategy
To do this, you run the watcher using bin/webpacker-dev-server in one Terminal window and then start bin/rails server in a different terminal window.
One-Window Shortcut
You can also run both the watcher and the server together using Foreman, like so for JS Bundling:
foreman start -f Procfile.devand like this for Shakapacker:
foreman start -f Procfile.dev-staticStarting in Rails 7, there is a script at ./bin/dev that will startup Foreman for you, so all you need to do is run ./bin/dev
However, running Rails this way has a negative impact on debugging (it makes using a debugger nearly impossible), so always be sure to know how to work in the multi-window style.
3/ The Magic tmp/webpacker/last-compilation-digest-test File
This section applies to you only if you are using Webpacker or Shakapacker.
For Webpacker (Rails 6) or Shakapacker only, to tell what files have changed and when files have changed, webpacker + shakapacker keep a secret file at tmp/webpacker/last-compilation-digest-test. You usually don’t have to think about this file, except when you do. To reset webpacker, delete the file with rm tmp/webpacker/last-compilation-digest-test
When you may need to delete this file:
• Switching branches
• Working on something that gets out of sync.
In these cases, you must delete the tmp/webpacker/last-compilation-digest-test file to force webpack to recompile. You don’t need to think about this, except when it becomes a problem.
4/ Doing a Hard Reload and Clearing your Browser Cache
This section applies to you if you are using Sprockets (the “asset pipeline”) for any version of Rails.
Most people think that doing an “option-reload” (that is, holding down the Option key while clicking the Reload button) will force Chrome or other browsers to fully reload the page— but that’s just one part of the story. What’s confusing is that “option reload” doesn’t force Chrome to reload the cached assets, just the page content. This is confusing because Webpacker’s packed bundles are part of the cached assets.
So you do step #3, watch Webpacker recompile, then go to your browser and do an Option-Reload. But the problem isn’t fixed — the assets are still missing.
That’s because the JS pack is in fact part of the browser-cached assets. Contrary to popular belief, “hard reload” only forces a reload of the page content itself, not the cached assets.
You can force Chome to remove the cache for this website two ways:
Preferences > Privacy & Security > Site Settings > View permissions & data stored across all sites > Use the search box to search for your site (“localhost”) > Then use the delete icon to delete cached assets for localhost.
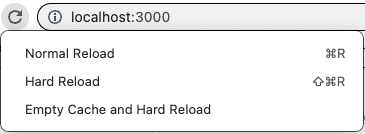
The Shortcut: While the Dev Tools window is open (Command-Shift-I), hold the Control key (not the Option key) and press down on the Reload button to the left of the browser, you will see a special drop down to give you the option to do a Soft reload, Hard Reload, or Empty Cache and Hard Reload

The Empty Cache and Hard Reload is the option you want to reset the cache so that Chrome reloads webpack’s assets.
5/ The Debugging Problem When Using Foreman
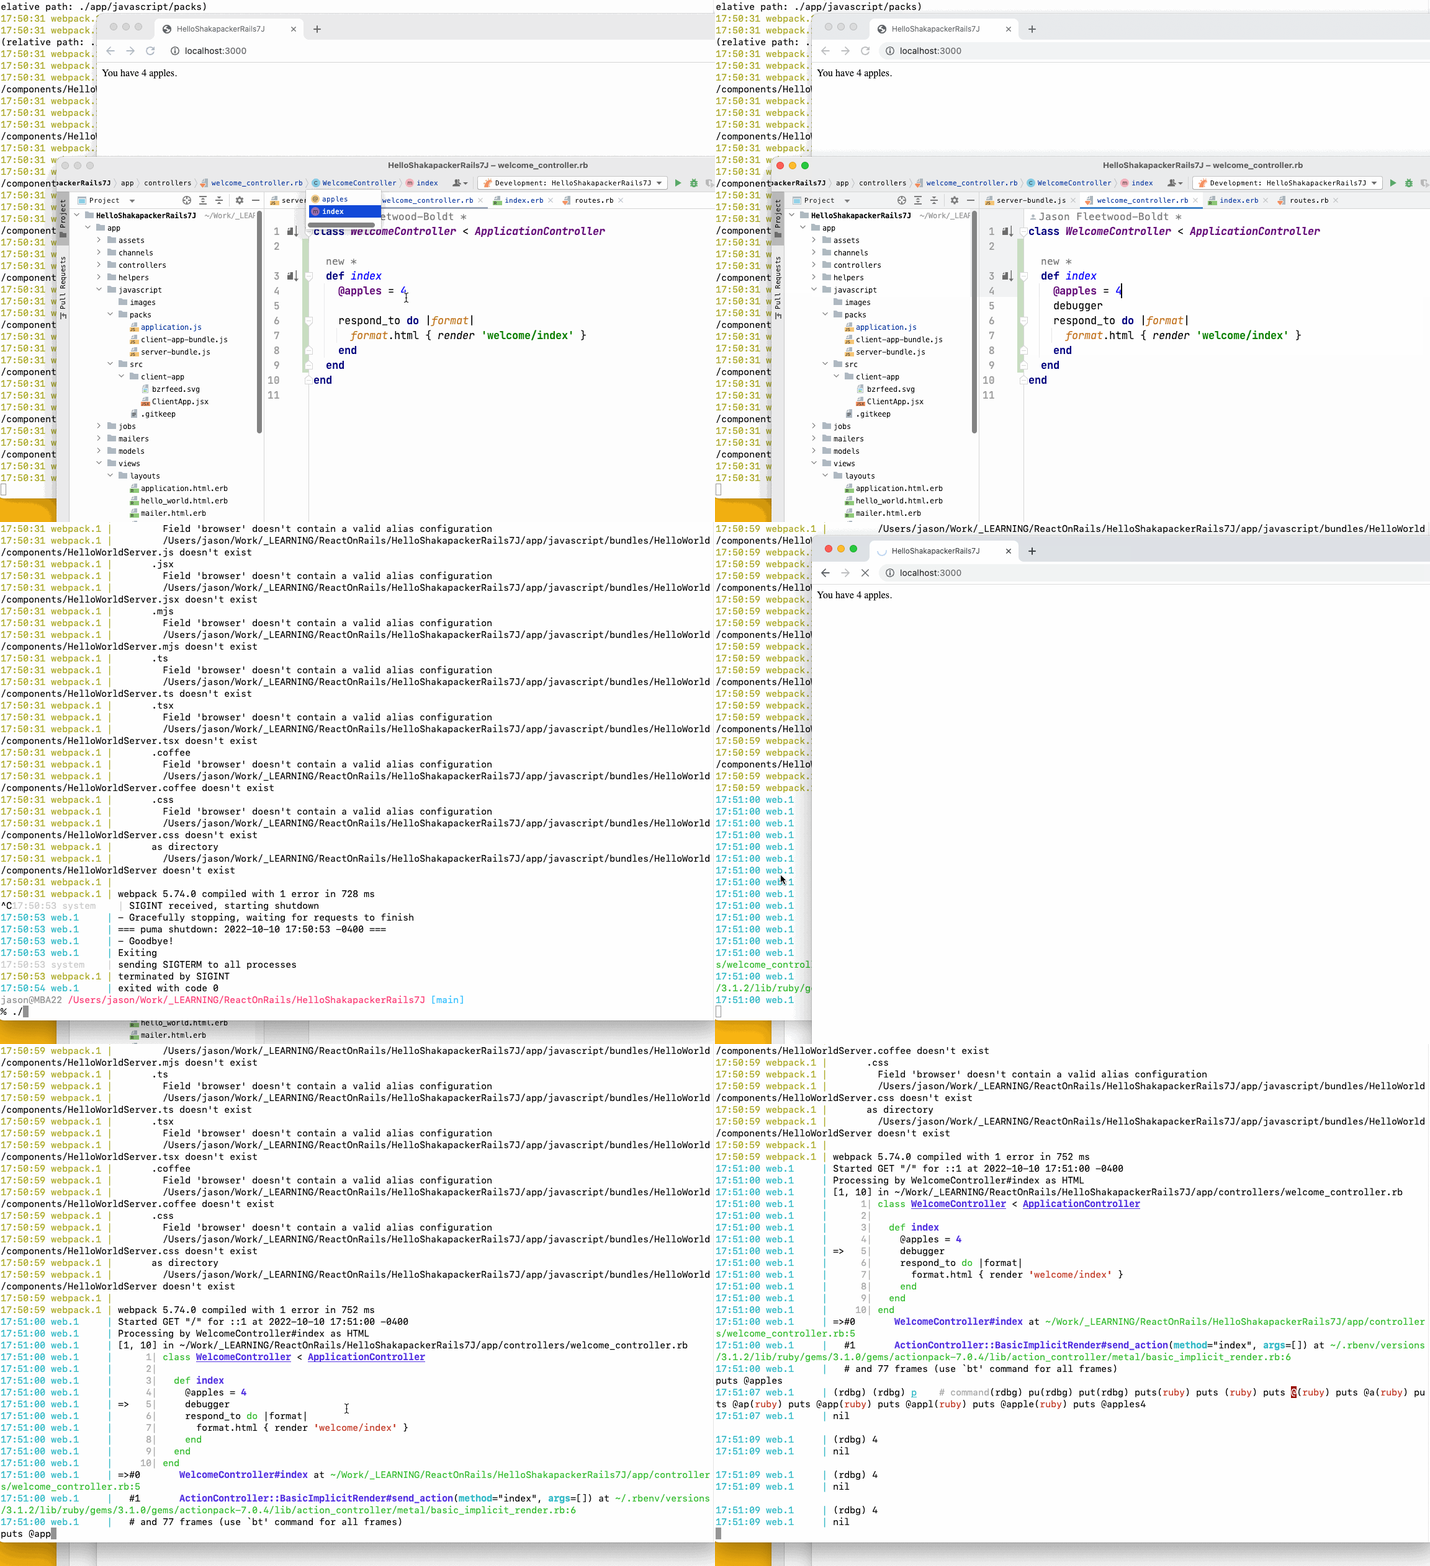
When using Foreman (see section 1), you have a severe problem if you want to debug. (ruby-debug, byebug, pry, etc). When you drop into a debugger by setting a debugger, Ruby does actually halt the execution and goes into the debugger. However, the output you see in your Terminal window is confusing, and when you try to interact with the debugger, the characters you type don’t appear on the screen as you would normally expect them to.
Take a look:

• The output in your Terminal window does not look like a standard debugger, which should halt and prompt you for interactive input.
• When you type interactive output, the characters appear at the bottom of the screen, and the result printed contains confusing information.
That’s because the debugger is in the same stream output as Foreman, so you lose the ability to have a clean interface for 1) seeing what you are typing, 2) hitting enter and seeing the result. It’s very messy and is not recommended for debugging.
For debugging only, you will need to fall back to the two-window method, as described above.
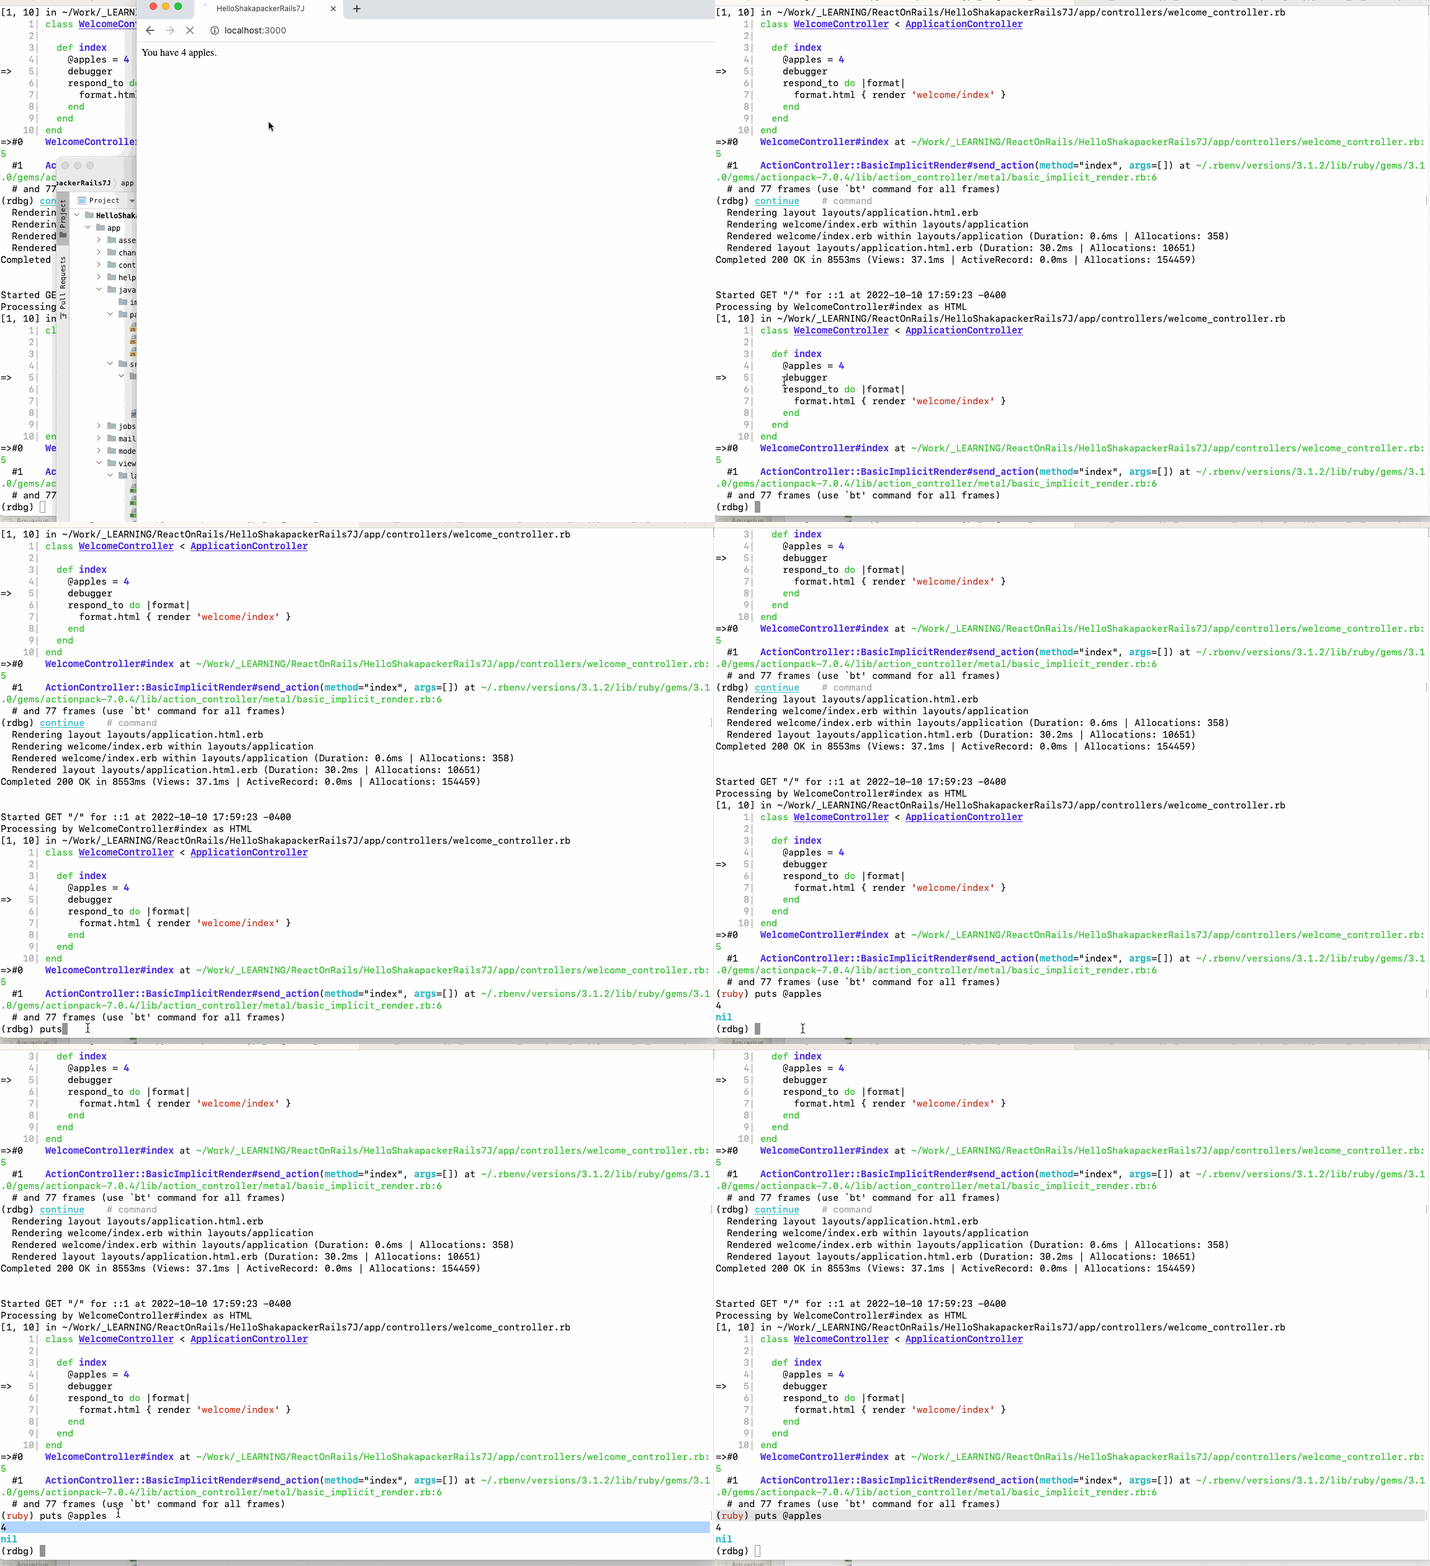
A normal debugging interaction looks like this:

6/ I Accidentally Deleted a Pack file (public/packs/) and Webpacker Won’t Replace It.
Sometimes you may accidentally delete your compiled pack file. If you do this, your site will be broken and won’t work even if you clear the cache & hard reload your browser.
Webpack won’t see that you’ve deleted the and won’t recompile it. To force it to recompile, see section #3 above.