
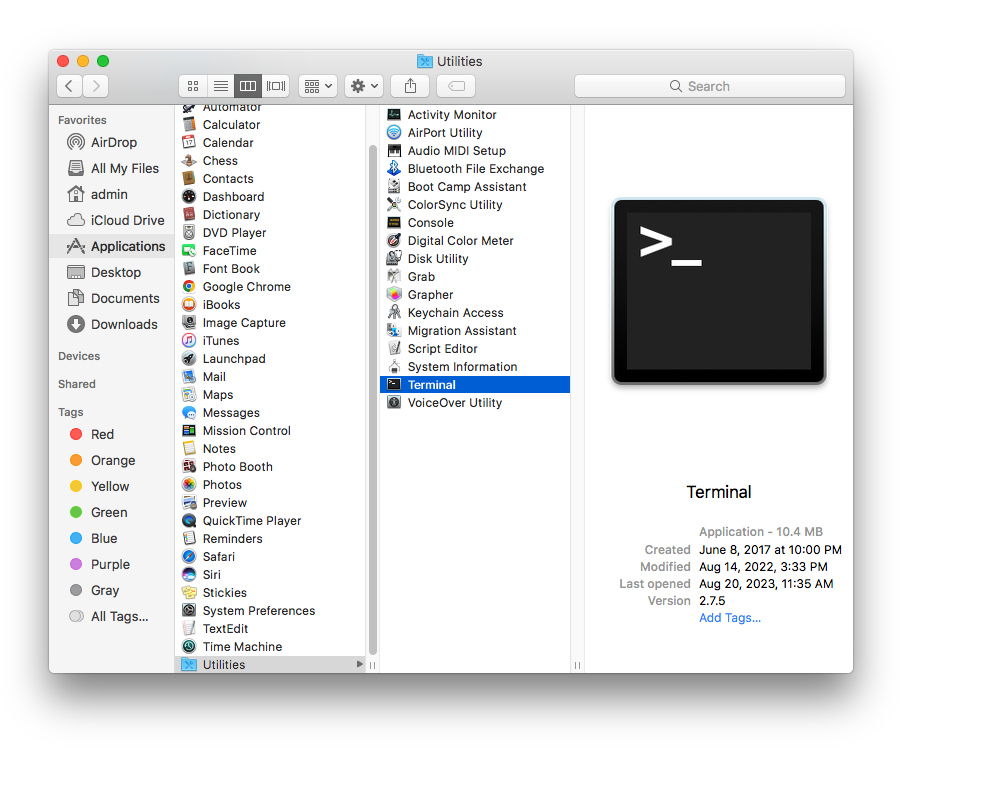
If you are using a Mac, you have a few options for Terminals: You can use the program called Terminal that ships with the operating system. You will find this program in the Applications folder, inside a folder called Utilities. You have paid options: some popular ones include iTerm, Terminator, or ZOC.
In this class, we will set up and show only how to use the Terminal program provided by Apple. You’ll find this program under /Applications/Utilities.
Notice how I referred to the location of this utility: A slash character (/), the folder named Applications then another slash (/), then the folder Utilities. This is the standard way you refer to folders and files in UNIX: The slashes separate folder from each other or, for the final slash, it separates the folder containing the file from the file name. Slahes denote the file hierarchy — a directed tree structure where each folder can contain any number of other folders or files. It is called a “directed” tree because it has one direction: from the root of the hard drive down (or up, depending on your perspective) into the folders and files on the system.
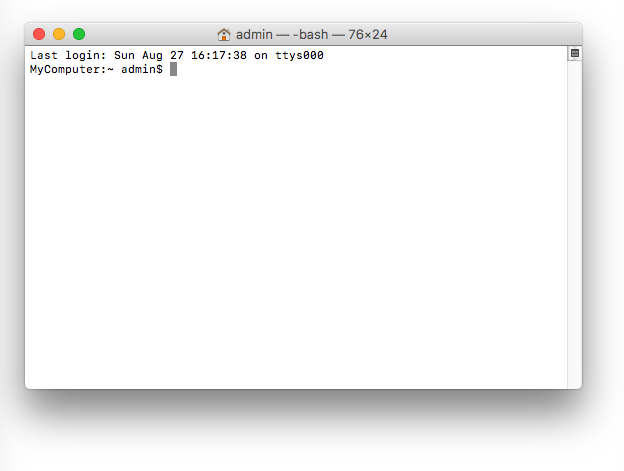
The terminal opens and begins with a prompt.
Open the Terminal for the first time, and you will see.
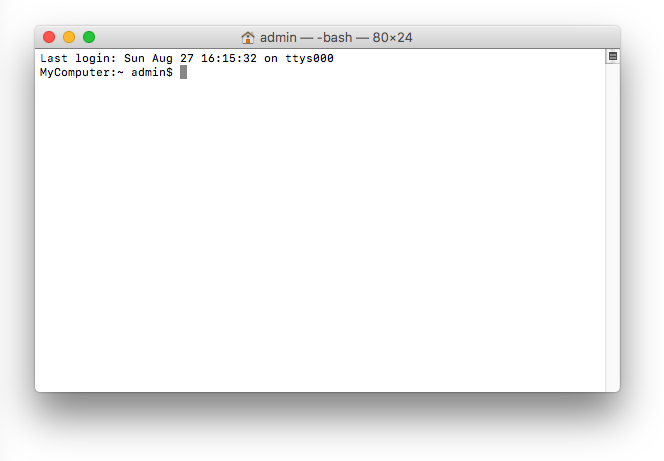
The first thing to do is find out where we are, which you won’t even learn until the next lesson.
Type the letters pwd and hit return. The terminal responds with something like:
This tells you “where you are” in your hard drive. This is the specific folder where your Terminal prompt will use as the directory for any further unix commands. Specifically, this is called the working directory.
The working directory is the point where you are currently browsing right there in the terminal session. It is unique to this terminal session. If you start a new terminal window (another tab or another window), it will have its own working directory.
We will soon learn how to navigate around the working directory. But first, lets discuss the two keyboard modifier keys you need to know in Unix:
Control Key — On the mac, the control key is marked Control or Ctrl
Meta Key — On the Mac Terminal, you must turn on the Meta key in the Terminal Preferences to continue.
If you miss this step, you won’t be able to use Meta keystrokes.
Enable the Meta Key for macOS Terminal
Go to Preferences > Profiles.

Here, you will see several windows — these define the default font size, background color, and foreground color (text color).
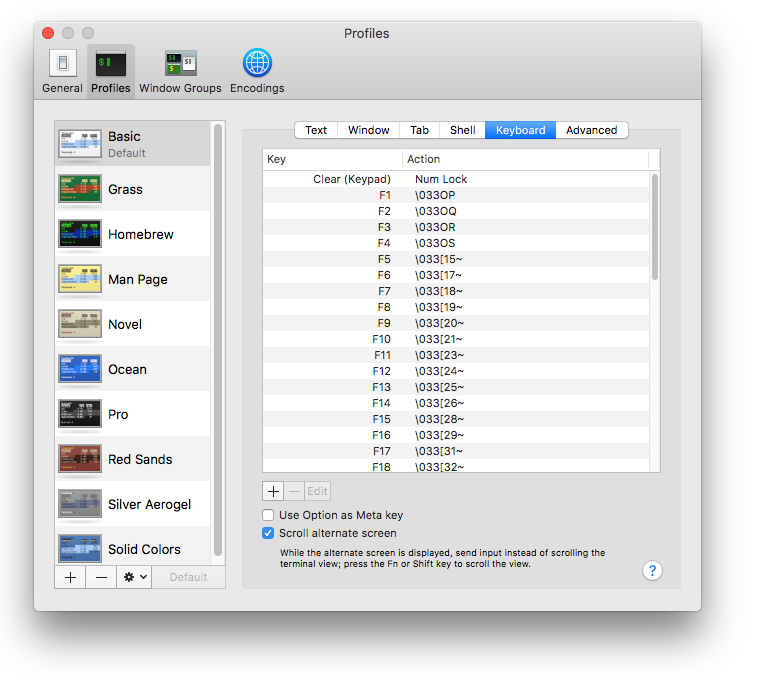
There is a setting for “Use Option as Meta key” that you must enable. Unfortunately, you must enable it for every profile you’ll use— Apple hs provided 10 default profiles here for your use.
I typically go through each profile here and check “Use Option as Meta key” to enable and then set my font size to a comfortable level. It’s important to have a good working environment to read the terminal window comfortably.
But what are Ctrl and Meta keys?
For that, let’s go to the next lesson. If you are on a Mac, this lesson is sufficient to get setup. You can skip the next lesson, which is for Windows users.
One final setting to pay attention to here is your cursor: The actually little marker on the screen that tells you the place where your next keystroke will be. For cursor, you have choices of choose a block, underline, or vertical cursor, and you can choose whether or not to have it blink:
Block
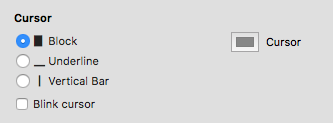
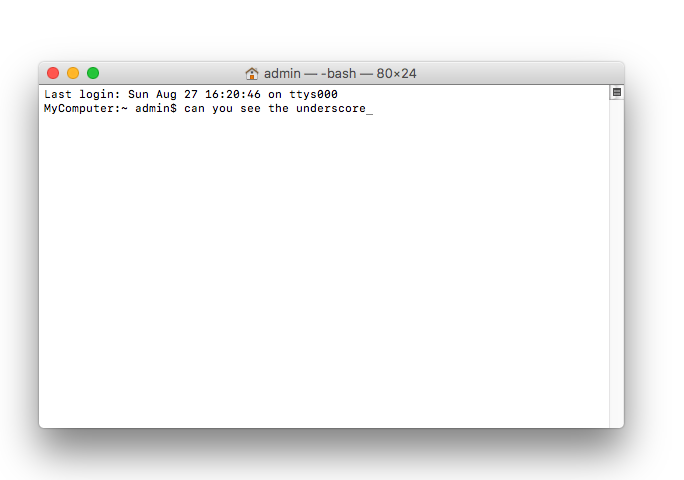
Underline

The underline cursor is elegant but can be difficult to spot on the screen. Try it out to see if you like it.
Vertical
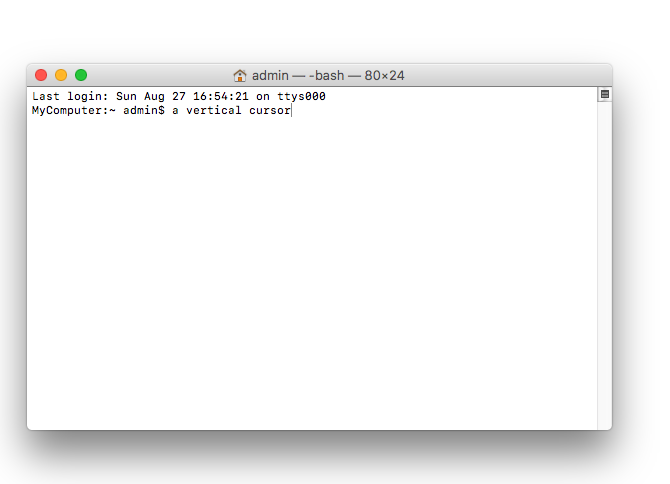
The vertical cursor is also very elegant but can also be hard to spot on the screen. Play around with different options and ensure you can see your cursor on the terminal window easily, no matter where it is. This is a necessary step before moving forward with this course.
Blinking Cursor
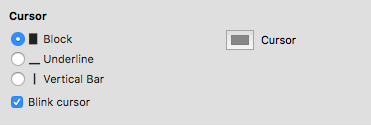
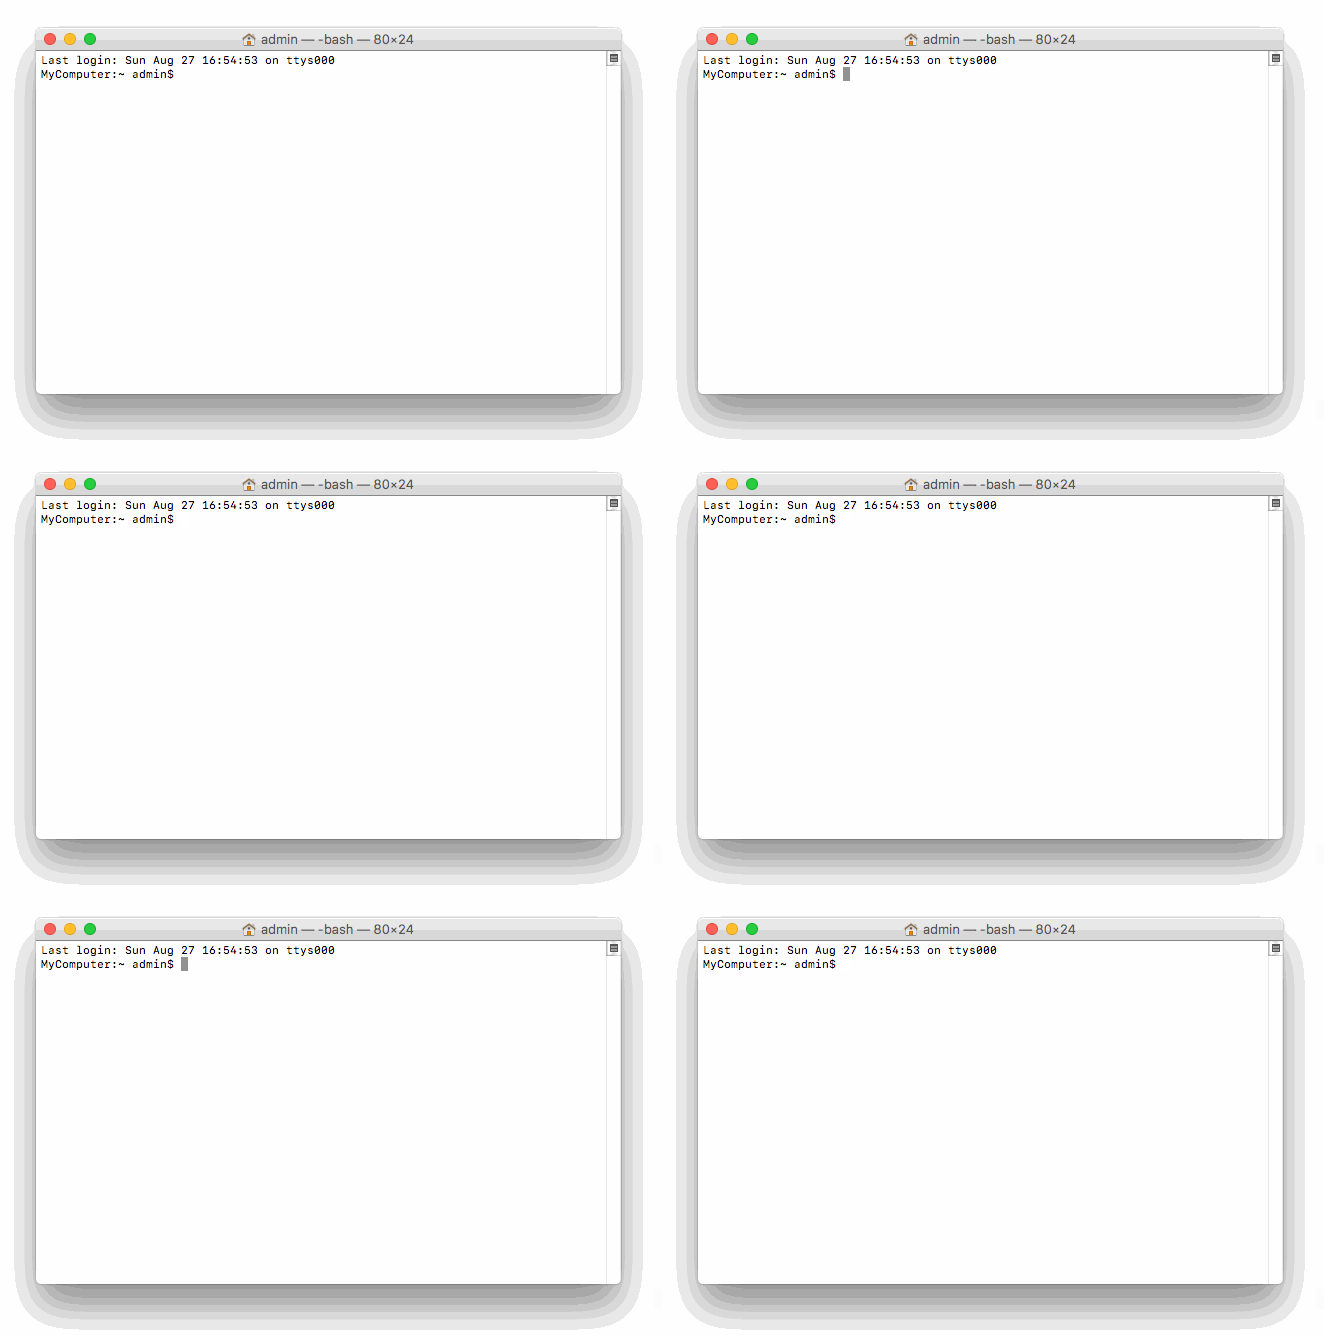
The blinking cursor is the best way to see your cursor, but some programmers find it distracting.
Take some time now to try out different ones and pick one that you like.
Once you are comfortable, you can Skip Lesson 3 (it is for Windows users) and move on to Lesson 4.